Hello Everyone!
Today’s post is uber exciting because it’s all about Disney princesses!👑😍❤️
I’ll be showing you two different nail art designs inspired by Disney Princesses! 👑
Let’s get Started!!💕

My first nail tutorial is actually fool proof and anyone yes Anyone can do it!
For one of my Disney princess photoshoots I wanted to dress up my nails to go along with my outfit!
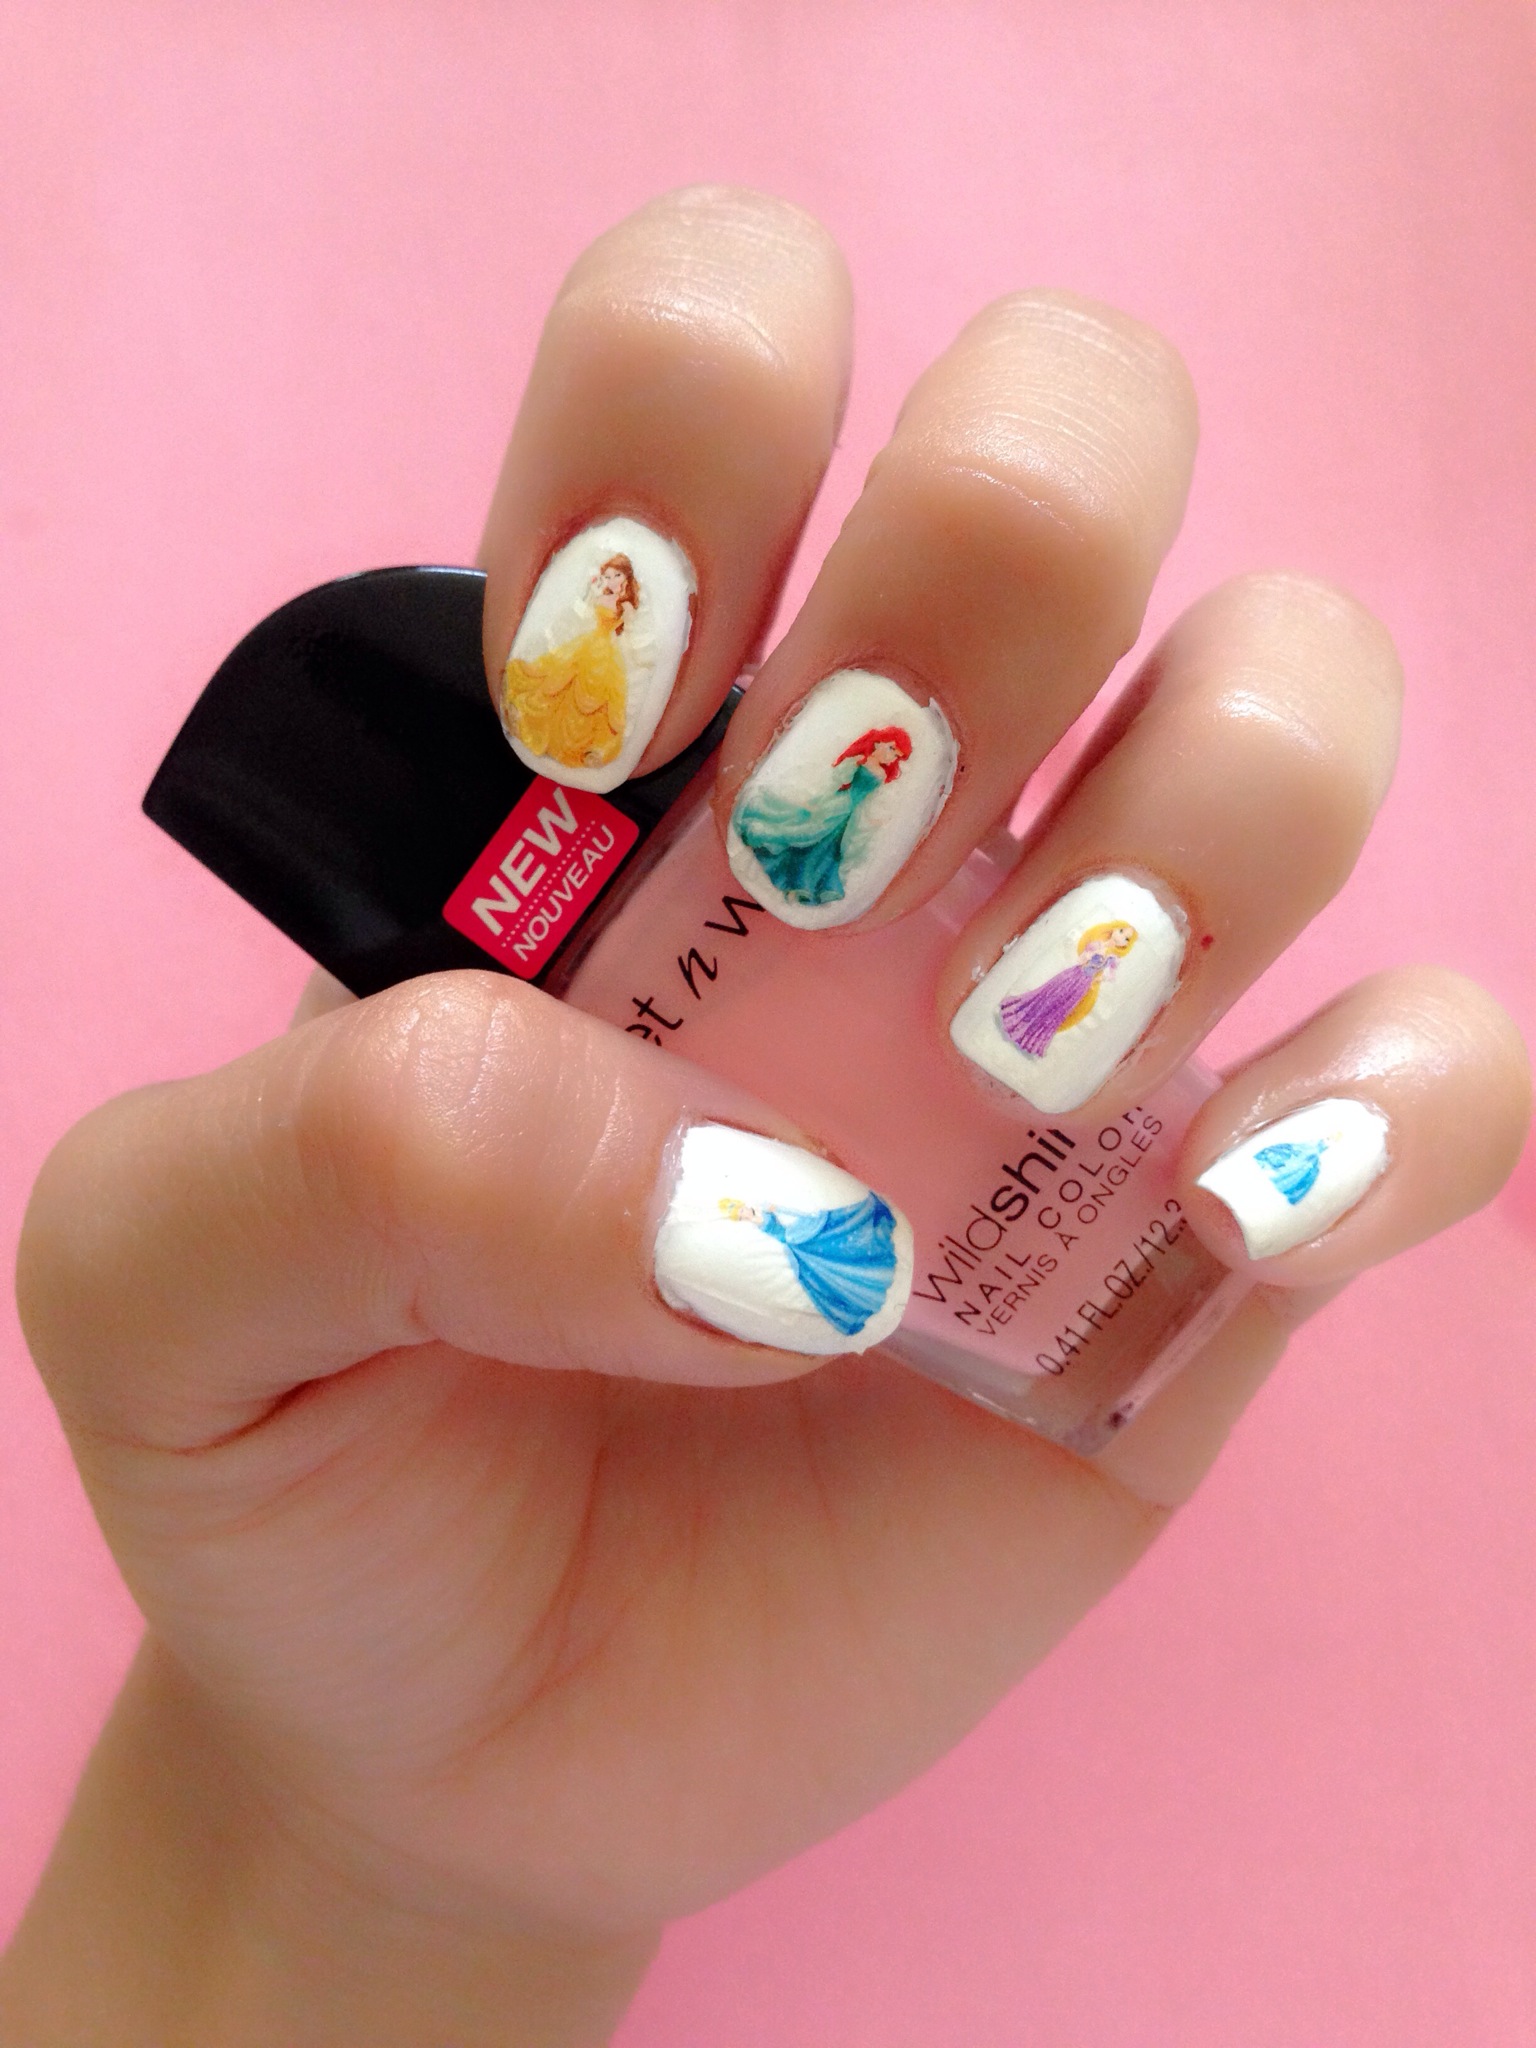
I found this adorable shop on Etsy called Nana’s Imagination ! 👑 I immediately fell in major love with these Disney princess Nail decals!!😍😍😍
The shipping was phenomenal she shipped within the hour !😳
When they arrived I immediately grabbed all my nail supplies and got to “work”.LOL
You will need:
~White Nail polish (love love this White out one from Rue 21!)
~ Top Coat
~ Cup of Water
~ Cooking Spray (optional)

1. First you want to paint two coats of your opaque white nail polish! Immediately spritz your wet nails with the cooking spray. This is optional but for the most impatient girl on the planet (me😜) it’s a must! Literally your nails will be smooth and dry to the touch within a minute if not less! It’s a lifesaver!


2. Next you want to take a paper towel and remove the excess oil from your nails and dry them off a bit.
Get a glass of water ready and dip your nail decals in the water face down! Make sure to cut as close to the princess image as possible! (Let your Princesses go for a swim!👑lol)

After about 10 seconds or so, you will notice that the nail decal will start peeling away from the cardstock.
I used a toothpick to grab the nail decal and I placed it on my nails one by one!

3. Lastly Seal your princesses with a topcoat and you’re done!!
I have to rave about this top coat I found at Dollar Tree! It’s Ahmazing!! Fun fact about me at the age of 14 I used to do acrylic nails as my job back in the day, so I’ve tried out the best nail polishes/topcoats and I’ve got to say that this one from the Dollar Tree is equal if not better to those big name brands! For $1 you can’t beat it!

On a side note how cute is cinderella’a glass slipper?!

Beauty and the Beast Nail Tutorial🌹
For my next nail tutorial will be inspired by my favorite Disney Princess Belle from Beauty and the Beast!😍🌹

You will need:
~Yellow Nail Polish
~ Red Acrylic Paint
~Green Acrylic Paint
~ Topcoat
~Gold Glitter (optional)
1. Paint all your nails except your thumb and ring finger a bright yellow.

2. Draw the Enchanted Rose!
Take your red and green acrylic paint and make a small swirl in the center of your nail.
You can also use nail polish but I find that paint is thicker and not so runny!

3. Make “c’s ” all round your center swirl as you form your rose! Lastly draw the green stem with a couple of thorns! Seal with topcoat and you’re done! Not bad for someone who is horrible at drawing! LOL😅

For some added Glam I added glitter to the tips of my nails and of course a matching Belle to go along with it! 🌹


I hope you all enjoyed these nail looks!
Below I have attached some on my Disney Princess Inspired Looks!
Til Next Time,
God Bless!
Ashley


I love all your outfits! They are so perfect!
-Margaret
Check out my blog?
http://happyinheels.blogspot.com/
Awwww thank you so much!! Absolutely! ❤️💛
I love the nails so much! Thanks for the tutorial! I am going to attempt these!
Awww thank you !!! Yay!!! I’d love to see a pic if you do attempt it! ItS super easy!💕👑
I love how it looks so complicated but it’s not!
I loved your Jasmine and Snow White! 🙂
Awww thank you so much!!!
Reblogged this on By the Mighty Mumford and commented:
wow—-cameos on the fingernails rather than as a pin or pendant!!!!
Ha! What a cute idea. You’re really spot on with all of those outfits!
https://midwestmeanderings.wordpress.com/
Awe thank you so much girly!!💕💕💕
I wouldn’t normally go all out with my nails but you just excited the 6 year old in me xx
Hahha!! That’s awesome! Thank you so much!💛💛💛💕